Psychometric tests for pilots
Pilot Vigilance Tests: Staying Sharp Over Time
By ForAllPilots · Published · 4 min read
Reviewed and approved by the site's editor before publication. Our method (FR)
A vigilance test isn't hard to understand — it's hard to sustain. For several minutes, almost nothing happens, and you have to react quickly and accurately to the few signals that matter, without pressing when there's nothing there. Here's how the two vigilance tests in the DLR series work, and how to stay accurate right to the end.
Vigilance 1: A Dial and Sounds
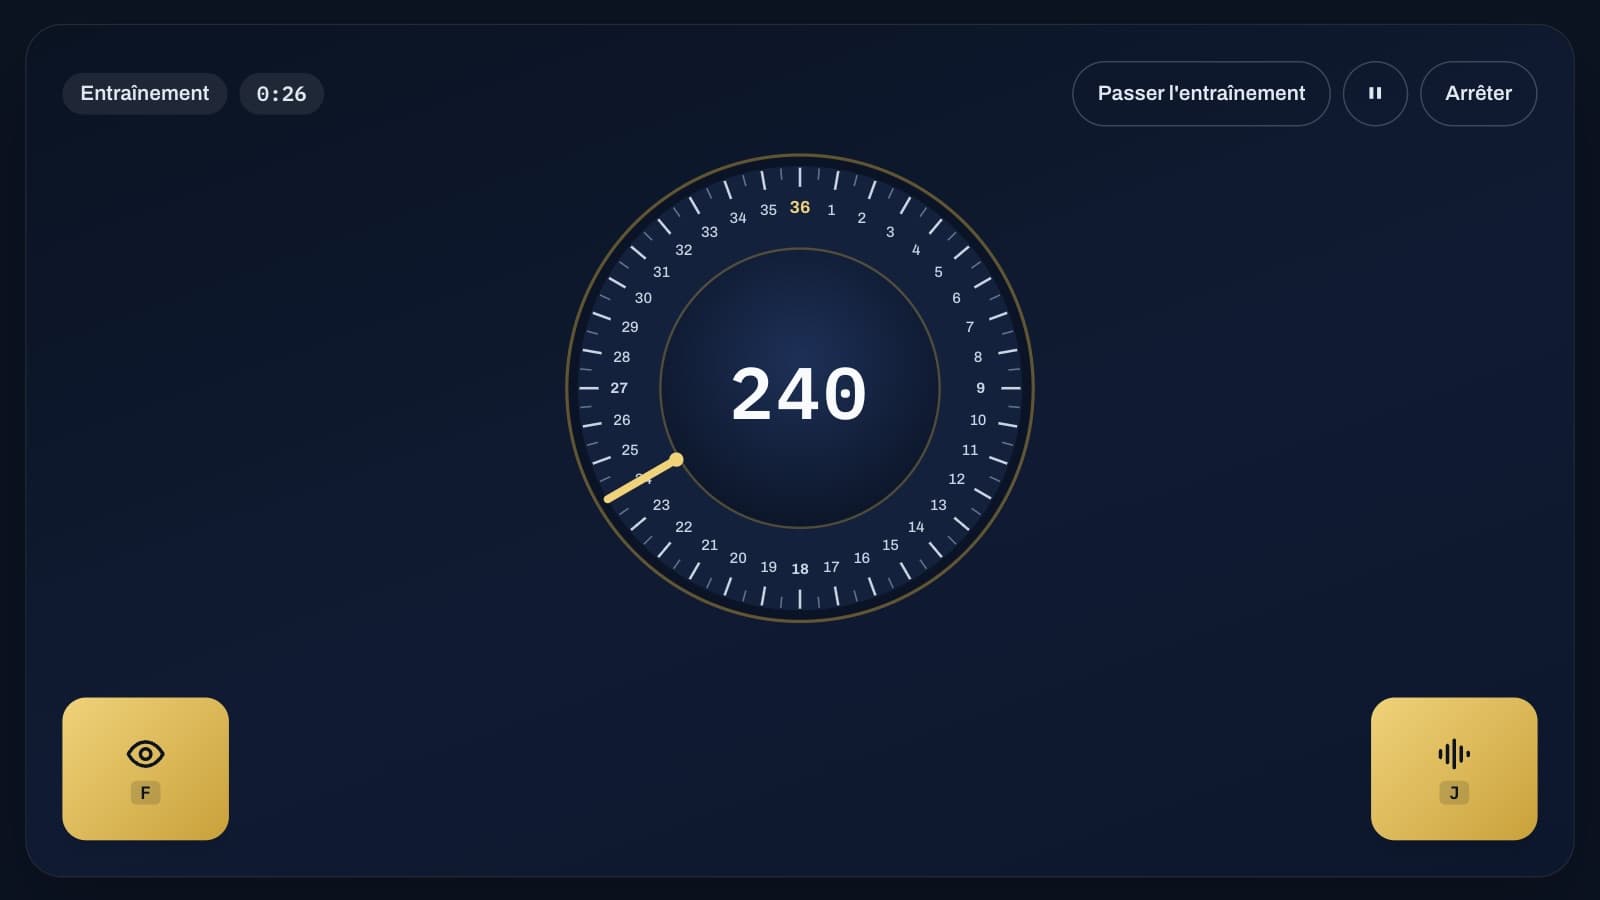
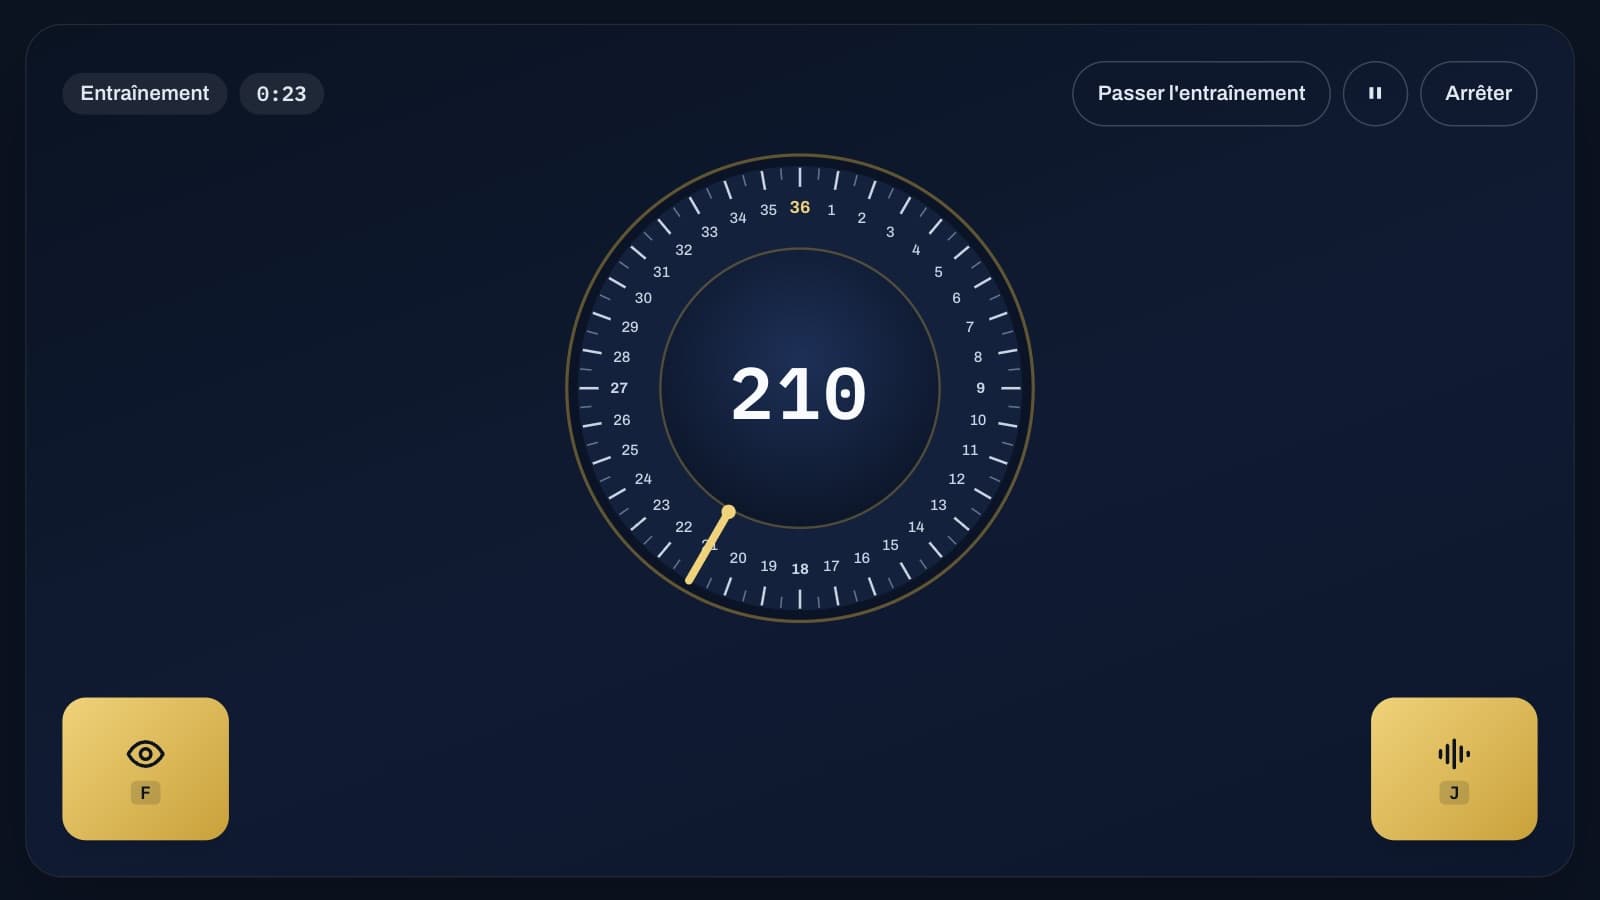
A heading dial, marked from 1 to 36 in tens of degrees with 36 at the top, shows a needle, and a three-digit heading (from 010 to 360) is displayed in the centre. A new reading appears every 2 seconds. Normally, the needle points exactly to the displayed heading; when it's clearly off, you must press the eye button (or the F key) before the next reading appears.
At the same time, a sound plays every 1.5 seconds: low, medium, or high-pitched. When the same sound plays three times in a row, you must press the sound button (or the J key) within the following 1.5 seconds. The test lasts 2 or 8 minutes, after a 30-second practice run.
Vigilance 1: Compare the Tens Digit, Count the Sounds
For the dial, there's no need to read the needle's exact value: the mismatches are obvious. Divide the displayed heading by ten (270 becomes 27) and check whether the needle is pointing to that number on the dial. It's a comparison, not a reading.
For the sounds, just keep track of two things: the last sound you heard, and how many times in a row it's repeated. On the third identical sound, press. Headphones help a lot, and it's best to play in a quiet place: sound is essential for this part of the test.
Vigilance 2: A Dot That Changes
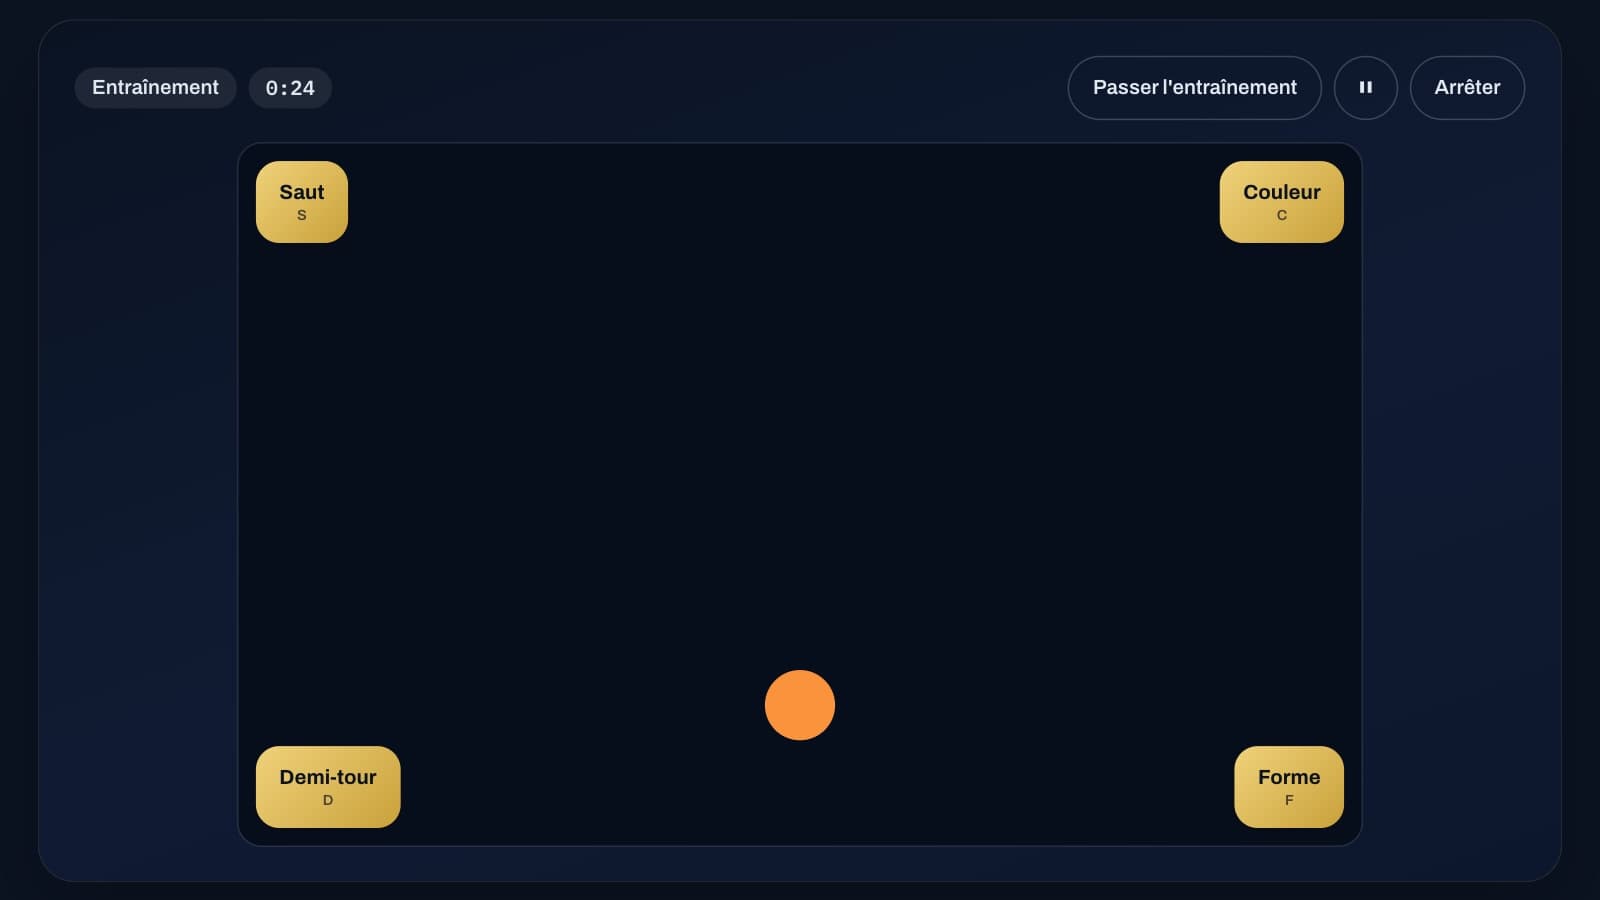
A dot moves one position every 0.9 seconds around an invisible 12-position clock face. It starts out yellow, round, and moving clockwise. From time to time, a single change occurs: a jump (a two-position step, happening only once), a new colour, a reversal of direction, or a new shape (round or square). Colour, direction, and shape then remain changed.
You must press the button in the corresponding corner within 1.2 seconds: Jump top left, Colour top right, Reversal bottom left, Shape bottom right (on keyboard: S, C, D and F). The test lasts 3 or 12 minutes, after a 30-second practice run.
Vigilance 2: Watch the Dot, Not the Buttons
Learn the position of the four buttons before you start, during the practice run, so you don't have to look for them later: during the test, your eyes must stay on the dot. A change is visible at the exact moment of the step, and your response must be made before the next step.
The jump is the change that's easiest to miss, because it leaves no trace afterwards: the dot simply resumes its normal pace. Keep the dot's steady rhythm in mind: a step that seems longer than the others is a jump.
Preparing Your Session
These tests run for several minutes without a break: settle into a quiet spot, in front of a screen where everything is visible without moving your head, and put the test in full-screen mode using the button above the exercise. For Vigilance 1, headphones are almost essential: the three sounds need to be clearly distinguishable.
Do the 30-second practice run at least the first few times: it shows your reaction time or your error after each press, and this is the moment to check that you've correctly understood each signal. During the test, switching browser tabs pauses the exercise, and the Pause button also freezes it.
Reading Your Results to Improve
The results break down misses and false presses separately, and it's the balance between the two that matters. Lots of misses, few false presses: your attention is drifting, often towards the end; build up your endurance by gradually lengthening the sessions. Lots of false presses: you're anticipating or second-guessing; slow down a bit and only press when you're certain you've seen or heard a signal.
The average reaction time tells a different story: if it's long but you're catching all the signals, you're seeing them correctly but late; keeping your eyes on the element that changes (the needle, the dot) rather than on the buttons often brings this down.
What Determines the Score: False Presses Count
In both tests, the score is the number of signals caught in time divided by the number of signals plus any extra presses. A random press, a press on the wrong button, or a double press therefore costs just as much as a missed signal: only press on what you've actually seen.
During the test, no feedback is shown — only at the end: successes, misses, false presses, and your average reaction time. Start with the short version, then move on to the long version once the short one becomes consistent: it's endurance over time that makes the difference.
These exercises are included with the ATPL subscription: they are training tools, not official tests, with no connection to the selection test of any school, organisation, or airline, and the exact rules or scoring of a real selection process may differ.